Husky crochet patterns let crafters turn yarn into a loyal and lifelike companion. From small plush pups to cozy blankets, these designs capture the look of this popular breed with clear color changes and simple shaping.
This guide shows how they can choose the right husky crochet pattern, gather the right tools, and use simple techniques to create a clean, realistic finish. It covers beginner-friendly amigurumi, corner-to-corner blanket designs, helpful tips for safety eye placement, and ways to add texture for a more true-to-life husky look.
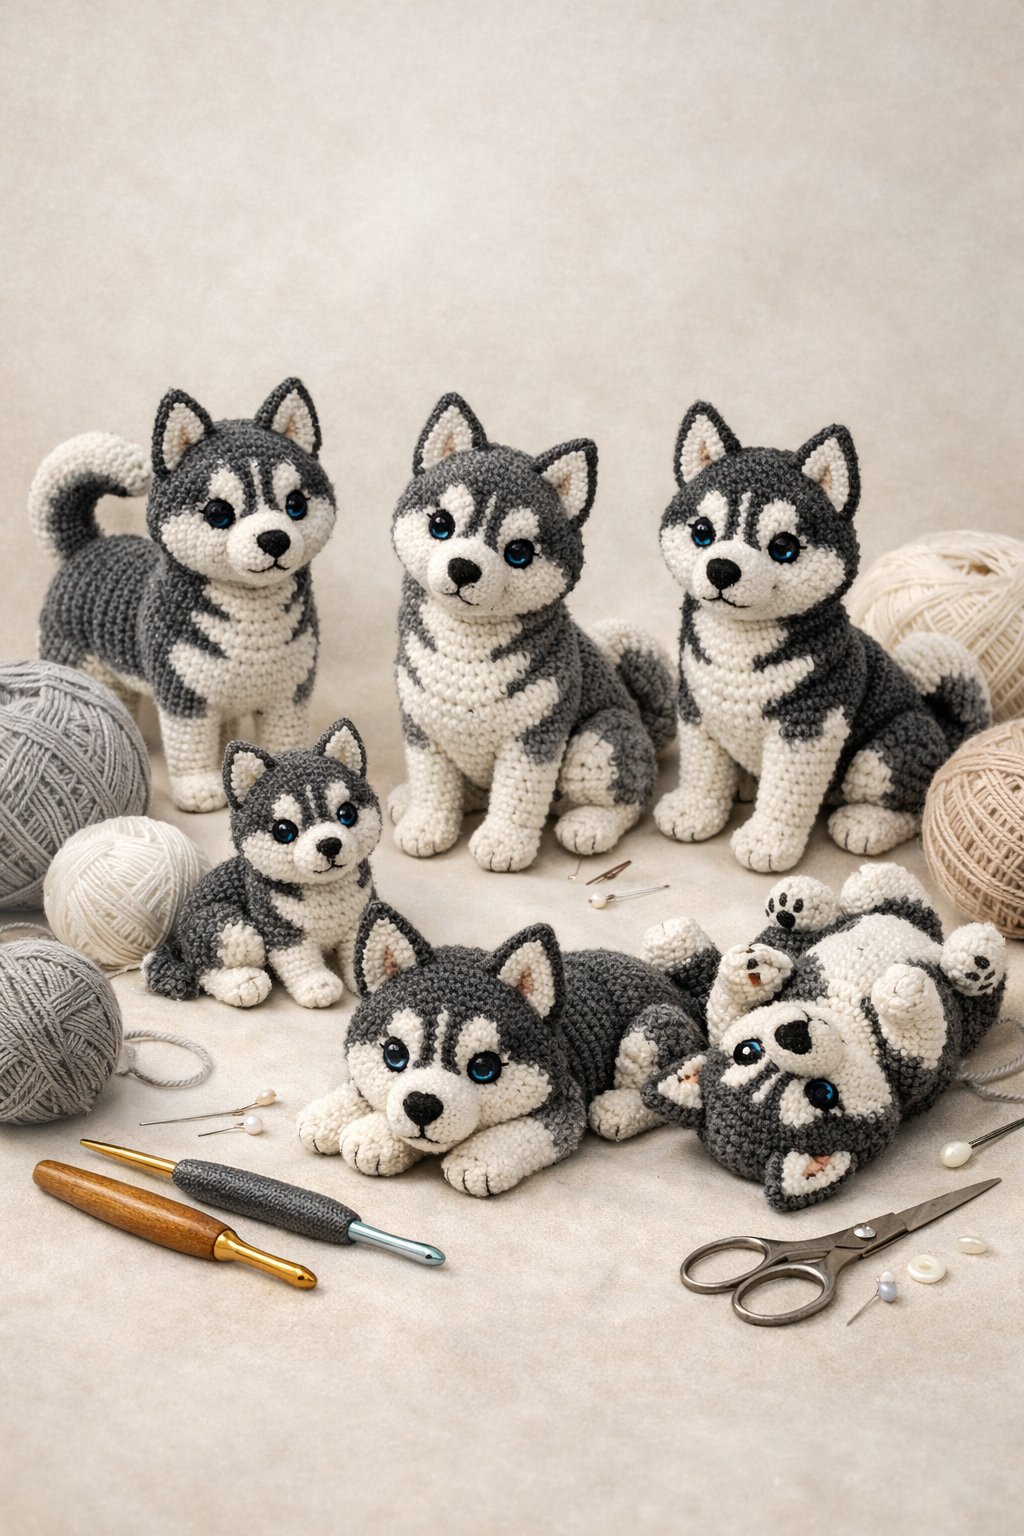
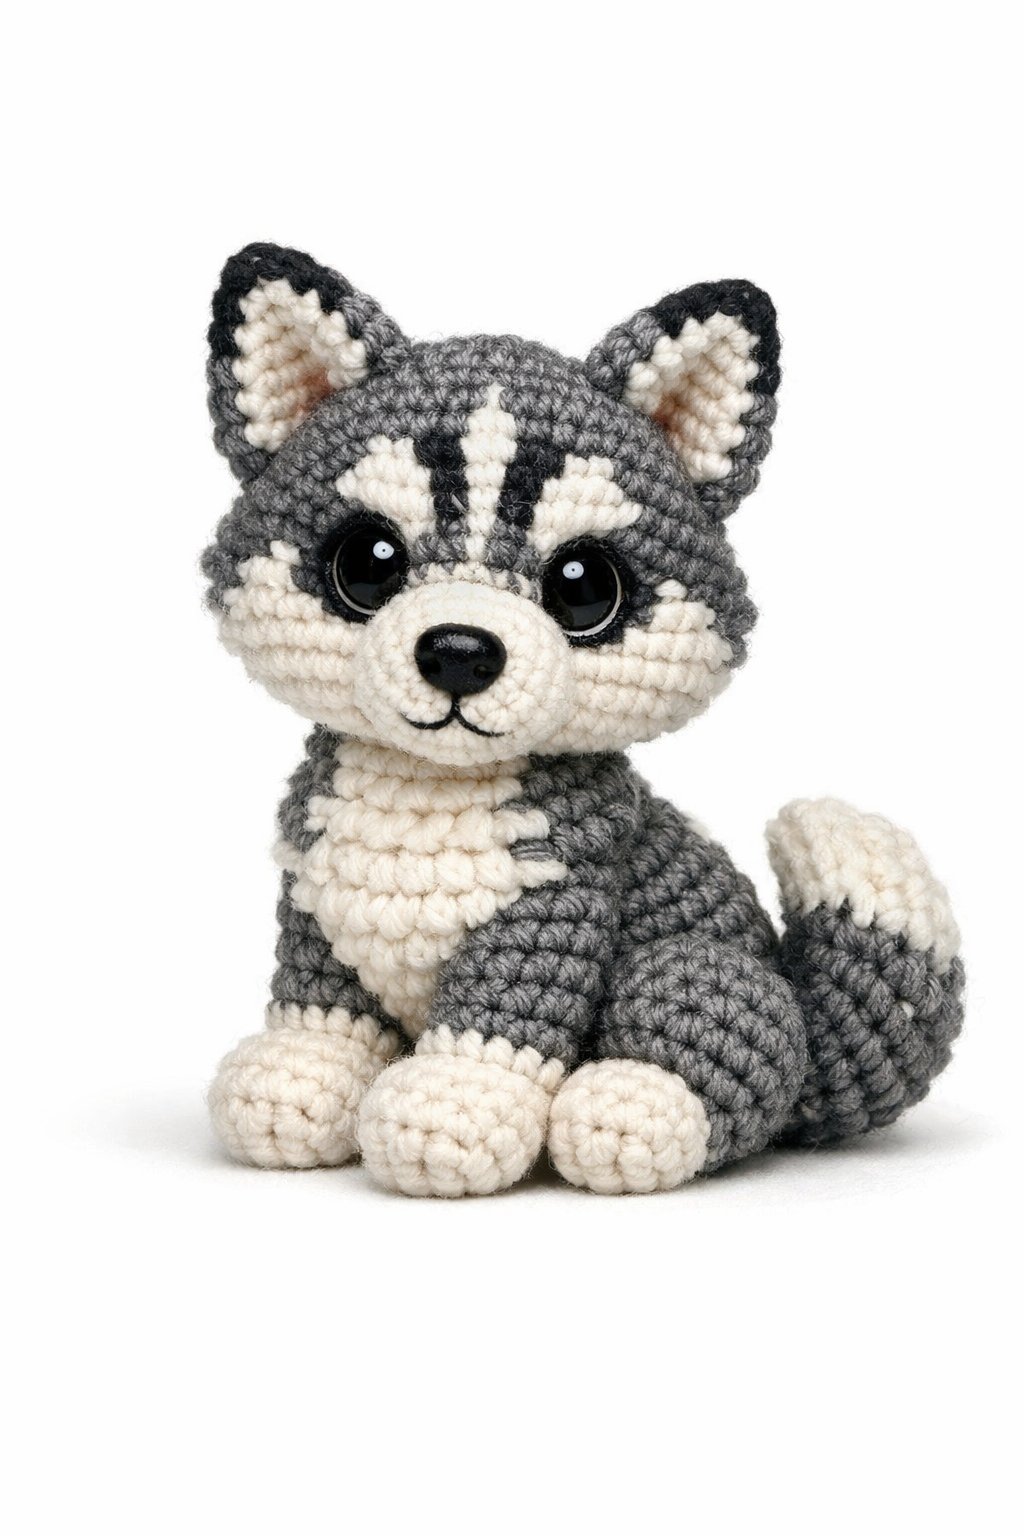
1) Amigurumi Husky Crochet Pattern for Beginners
A beginner amigurumi husky pattern uses basic stitches like single crochet, increases, and decreases. Most patterns guide the maker through simple shapes for the head, body, legs, and ears. Clear step-by-step photos often help with each part.
Many free patterns suggest medium or light yarn and a small hook, such as 2.5 mm to 3.5 mm. The husky usually stands about 6 inches tall, depending on yarn size.
The maker adds details like a white muzzle, pointed ears, and embroidered eyes to create the husky’s look. This project helps beginners practice shaping and color changes in a simple way.
2) Corner to Corner (C2C) Husky Dog Blanket Pattern
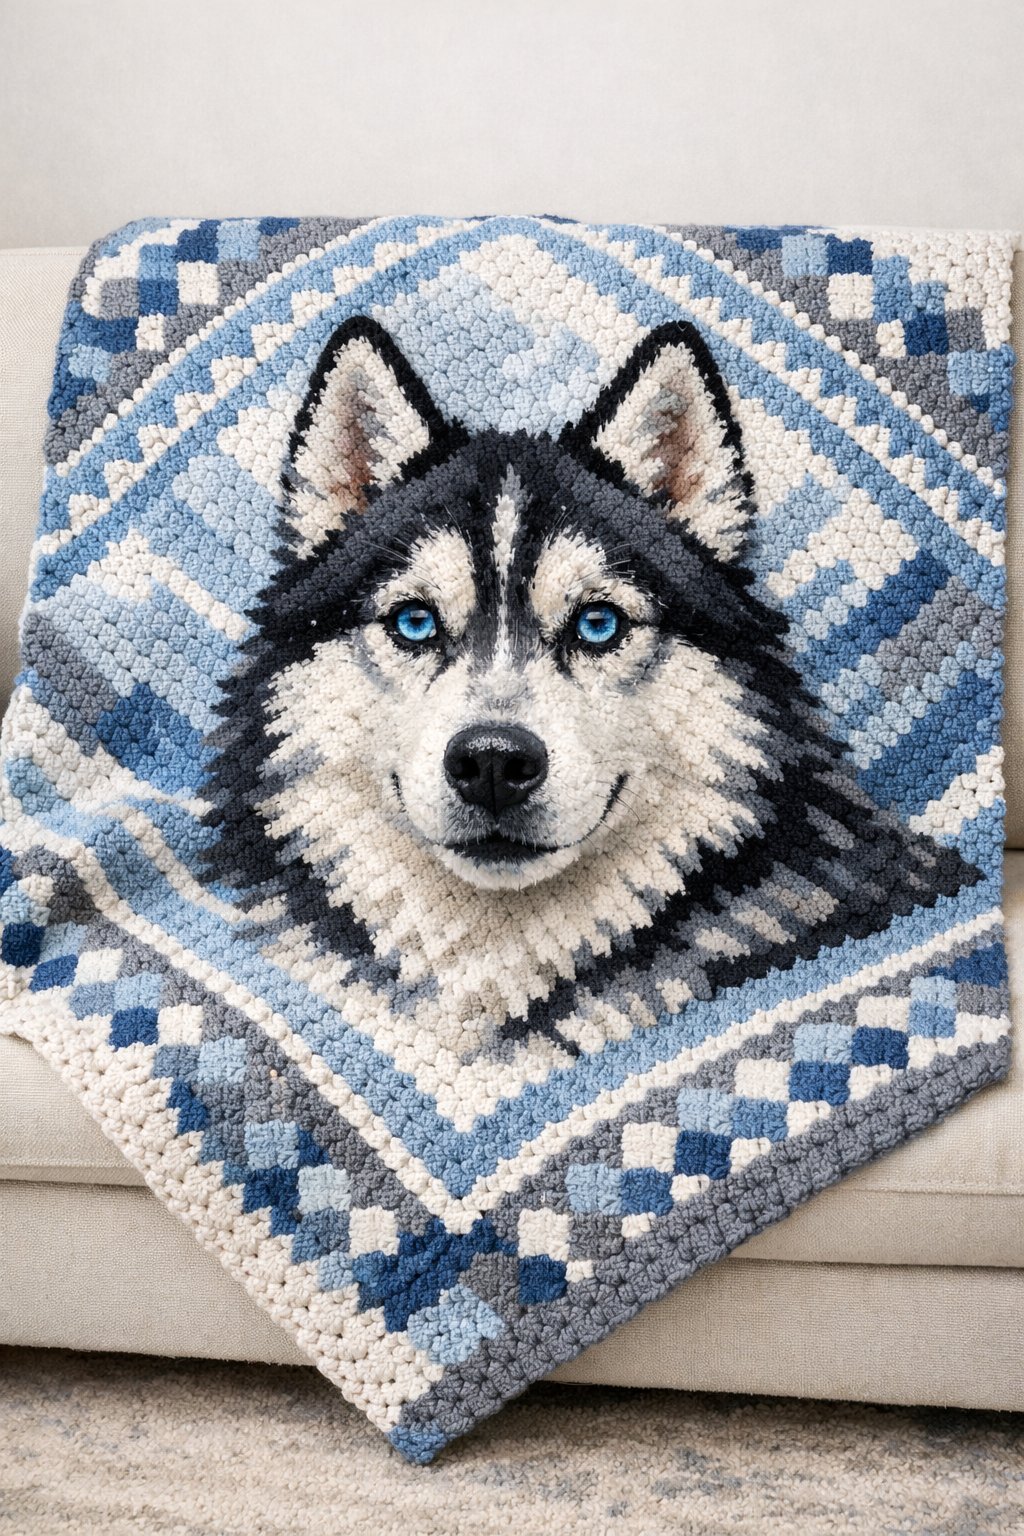
A Corner to Corner (C2C) husky dog blanket pattern uses diagonal rows to build the design from one corner to the opposite corner. The maker follows a color chart or graph to form the husky image step by step.
Designs often show the husky’s face with clear markings and strong contrast. Many patterns include written instructions along with the graph to guide color changes.
Crafters can adjust the blanket size by adding more rows around the main square. This method also works well for pillows, wall hangings, or nursery decor.
3) Step-by-Step Husky Amigurumi with Color Changes
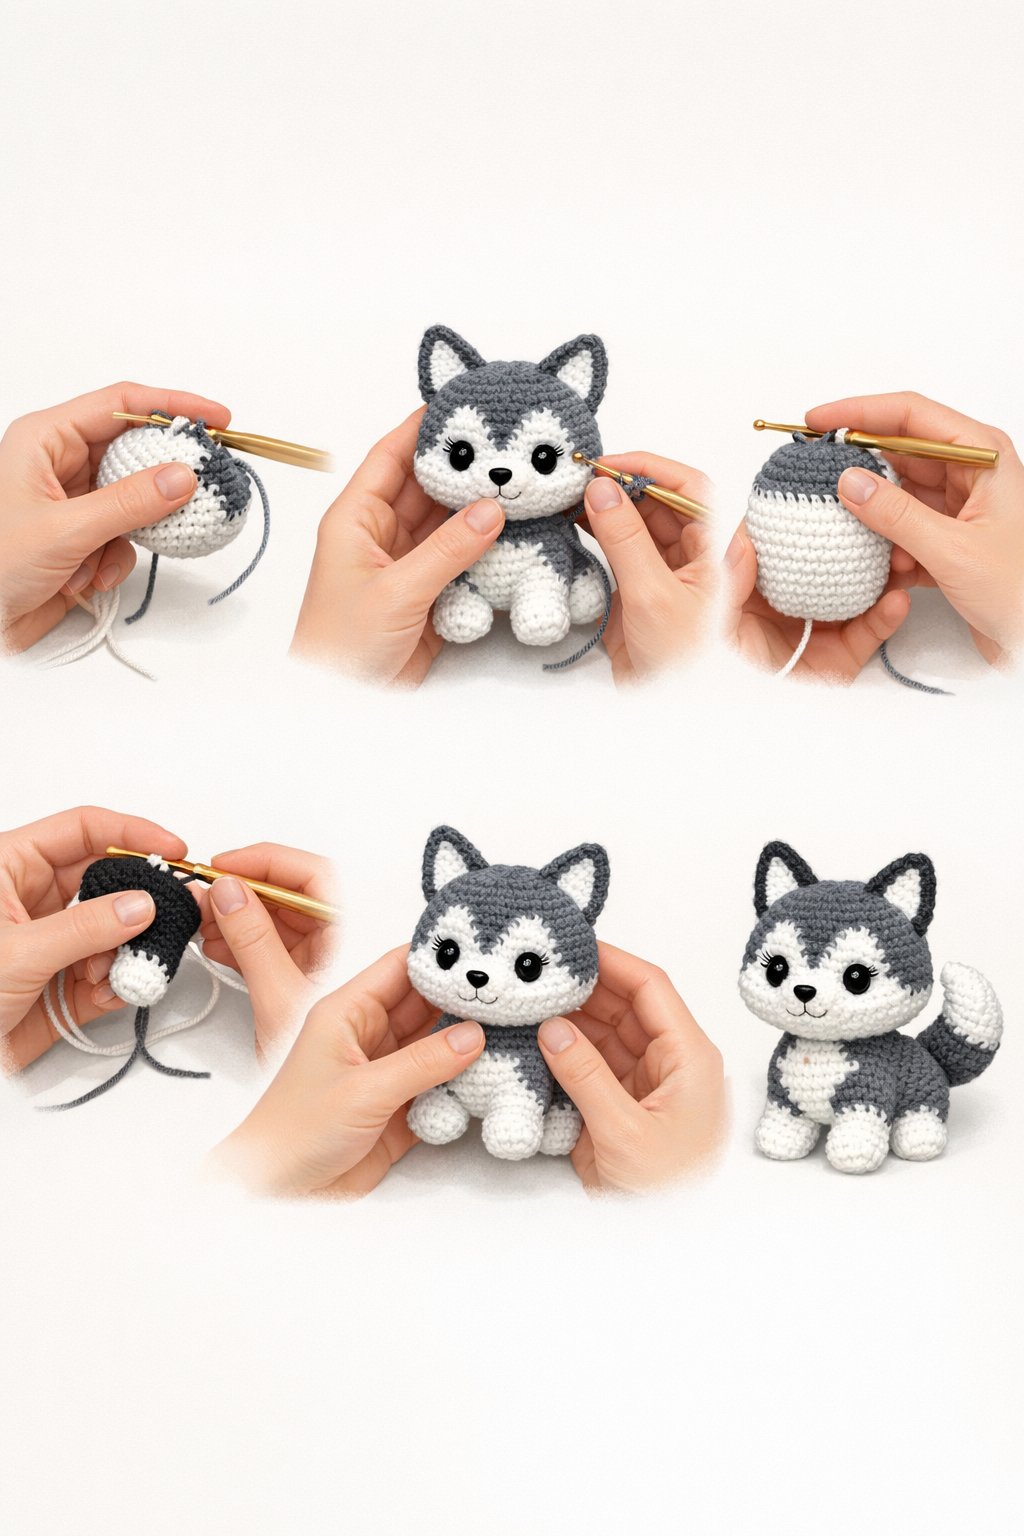
This step-by-step husky amigurumi pattern guides the maker through each part of the dog. It usually starts with the head and body, worked in rounds with basic stitches. Clear instructions help beginners stay on track.
Color changes create the husky’s white face, gray body, and black markings. The pattern explains when to switch yarn and how to carry colors neatly. Many designs also show safe placement for safety eyes.
The maker crochets the ears, legs, and tail separately, then sews them in place. Small details like a nose, claws, or a scarf add a clean finish.
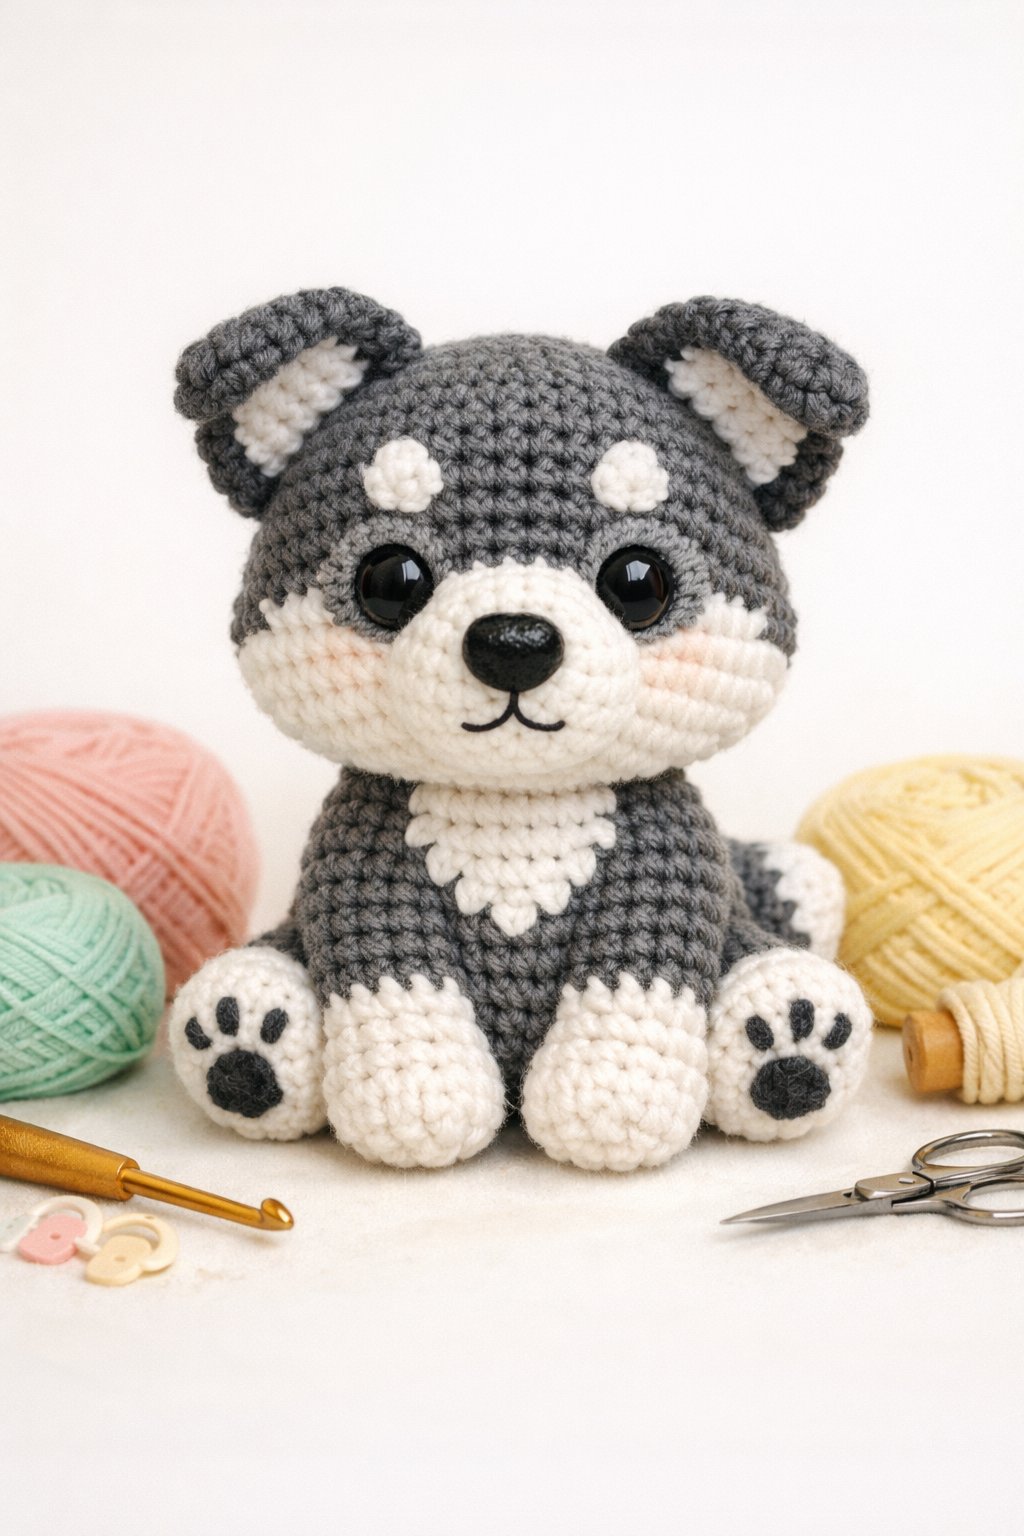
4) Free Husky Crochet Pattern for Nursery Decor
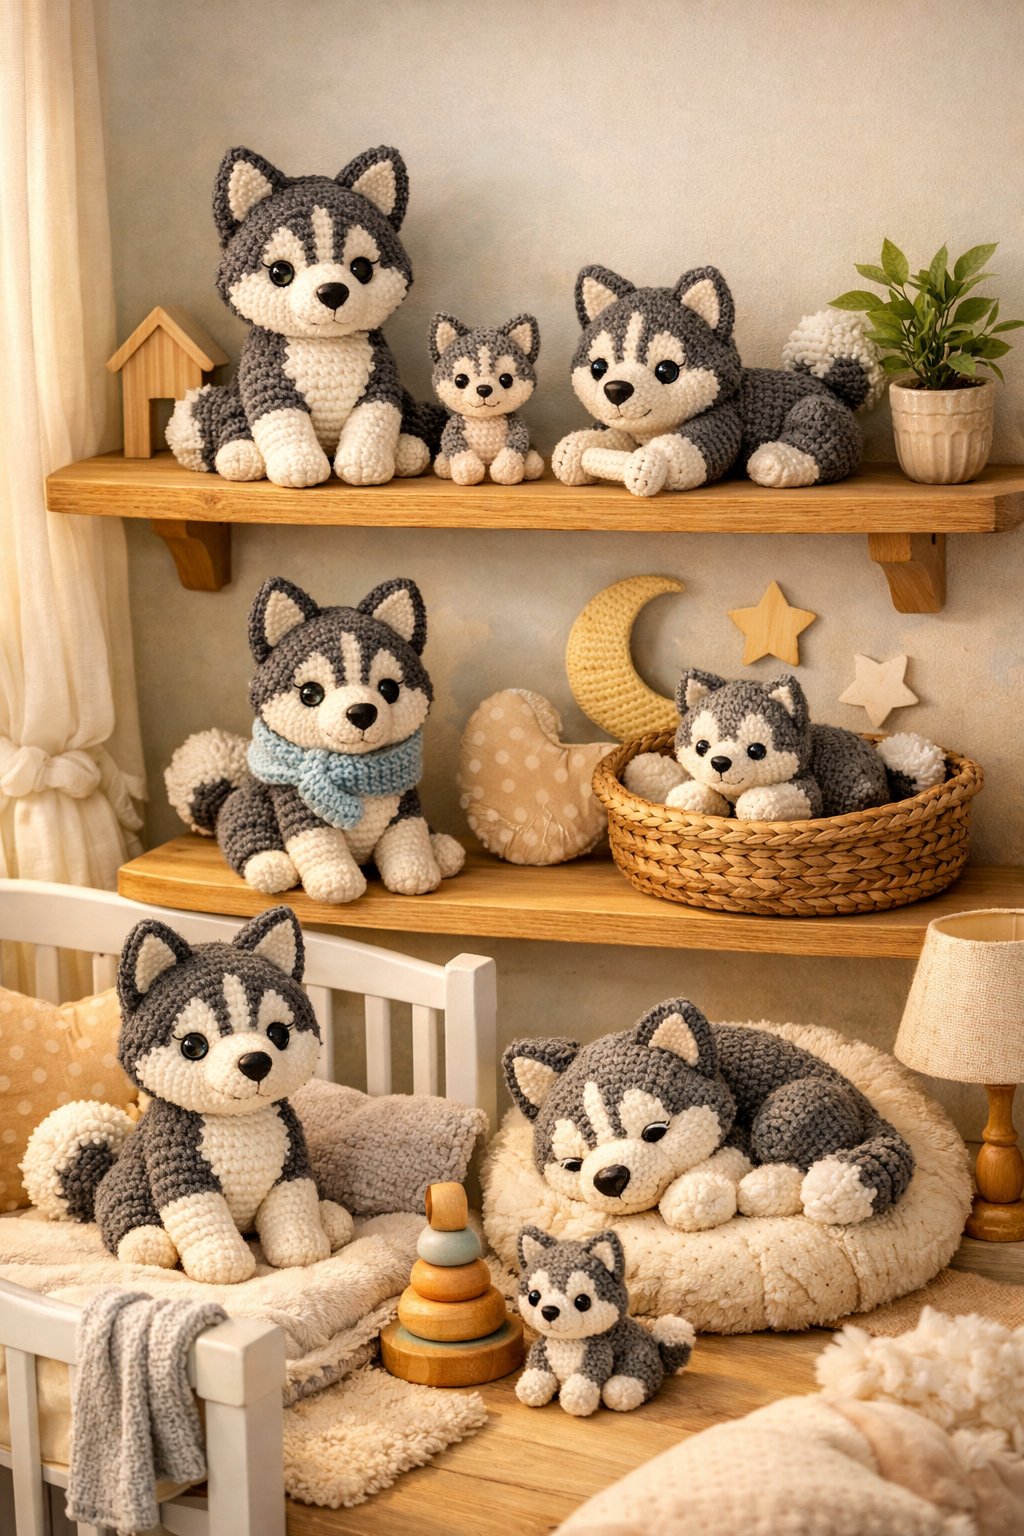
A free husky crochet pattern works well for nursery decor. It adds a soft, handmade touch without high cost. Many free patterns guide beginners step by step.
Designers often suggest basic stitches like single crochet, increase, and decrease. They shape the body, head, ears, and tail in simple rounds. Clear instructions help new crocheters finish the project with ease.
A small amigurumi husky can sit on a shelf or dresser. Some patterns also offer corner-to-corner squares for baby blankets. The soft colors and friendly face fit well in a calm nursery space.
5) Detailed Husky Pup Crochet Pattern with Safety Eye Placement
A detailed husky pup pattern guides the maker through each step, from the body to the ears and tail. Most patterns use basic stitches and simple shaping. Crafters often work in rounds to form a smooth, stuffed shape.
The pattern usually calls for acrylic yarn, a 3 mm to 4 mm hook, stuffing, and 12 mm safety eyes. The maker places the safety eyes after finishing the head but before closing it. They position the eyes evenly between rounds to keep the face balanced.
Clear notes explain color changes for the husky’s mask and ear tips. Small details like a stitched nose and claws complete the look.
Key Materials and Tools
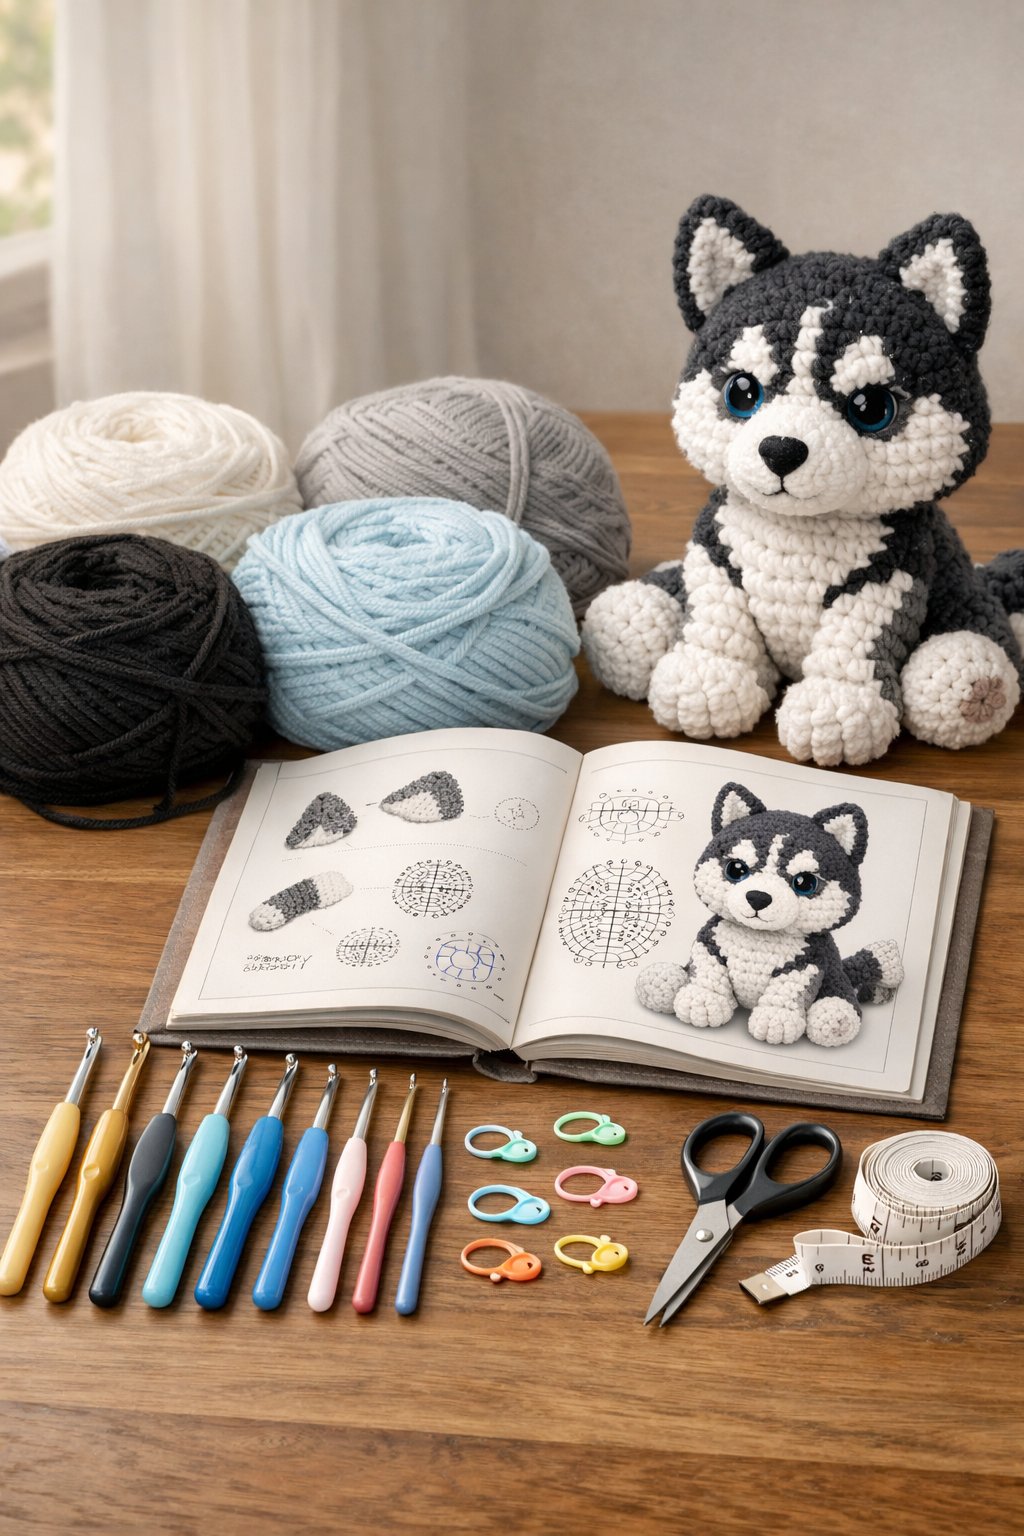
A well-made husky amigurumi starts with the right yarn, hook, and small tools. Careful material choices help shape clear color changes, firm stitches, and balanced stuffing.
Yarns Suitable for Husky Crochet Projects
Most husky crochet projects use medium-weight (worsted) acrylic yarn. This yarn holds its shape well and shows stitch detail clearly. It also comes in many shades of gray, white, and black, which match a husky’s coat.
Soft acrylic works well for plush toys because it feels smooth and resists pilling. Cotton yarn creates sharper stitch definition, but it feels less soft. Beginners often prefer acrylic because it stretches slightly and feels easier to handle.
For a realistic look, crafters often choose:
- Light gray for the body
- White for the muzzle, chest, and legs
- Black or dark gray for markings
- Small amounts of pink for the tongue
Some patterns suggest bulky yarn for a larger plush. Smaller sport or DK yarn creates a compact toy with tighter detail. He or she should keep the yarn weight consistent across all colors to avoid uneven tension.
Recommended Crochet Hooks
Hook size affects stitch tightness and stuffing control. Most worsted-weight husky patterns use a 2.5 mm to 4.0 mm hook. A smaller hook creates tight stitches that prevent stuffing from showing through.
Amigurumi usually requires a hook that is one size smaller than the yarn label suggests. This tighter tension helps the toy keep its shape. Loose stitches can cause gaps around the head, body, or legs.
Metal hooks glide smoothly through acrylic yarn. Ergonomic hooks reduce hand strain during long sessions. Comfort matters because husky patterns often include many small rounds for the head, ears, and limbs.
He or she should test a small swatch before starting. The fabric should feel firm but not stiff.
Essential Accessories
Small tools make the project easier and cleaner. These items support safety and neat finishing:
- Safety eyes (9–12 mm) for realistic expression
- Polyester fiberfill stuffing
- Stitch markers
- Yarn needle for sewing pieces
- Scissors
Safety eyes must lock tightly into place before stuffing. Some makers embroider the eyes instead, especially for small children’s toys.
Stitch markers help track rounds, since most husky amigurumi pieces work in continuous spirals. A yarn needle closes seams and attaches ears, tail, and legs securely.
Firm, even stuffing shapes the muzzle and forehead. He or she should add small amounts at a time and press gently to avoid lumps.
Techniques for Realistic Texture
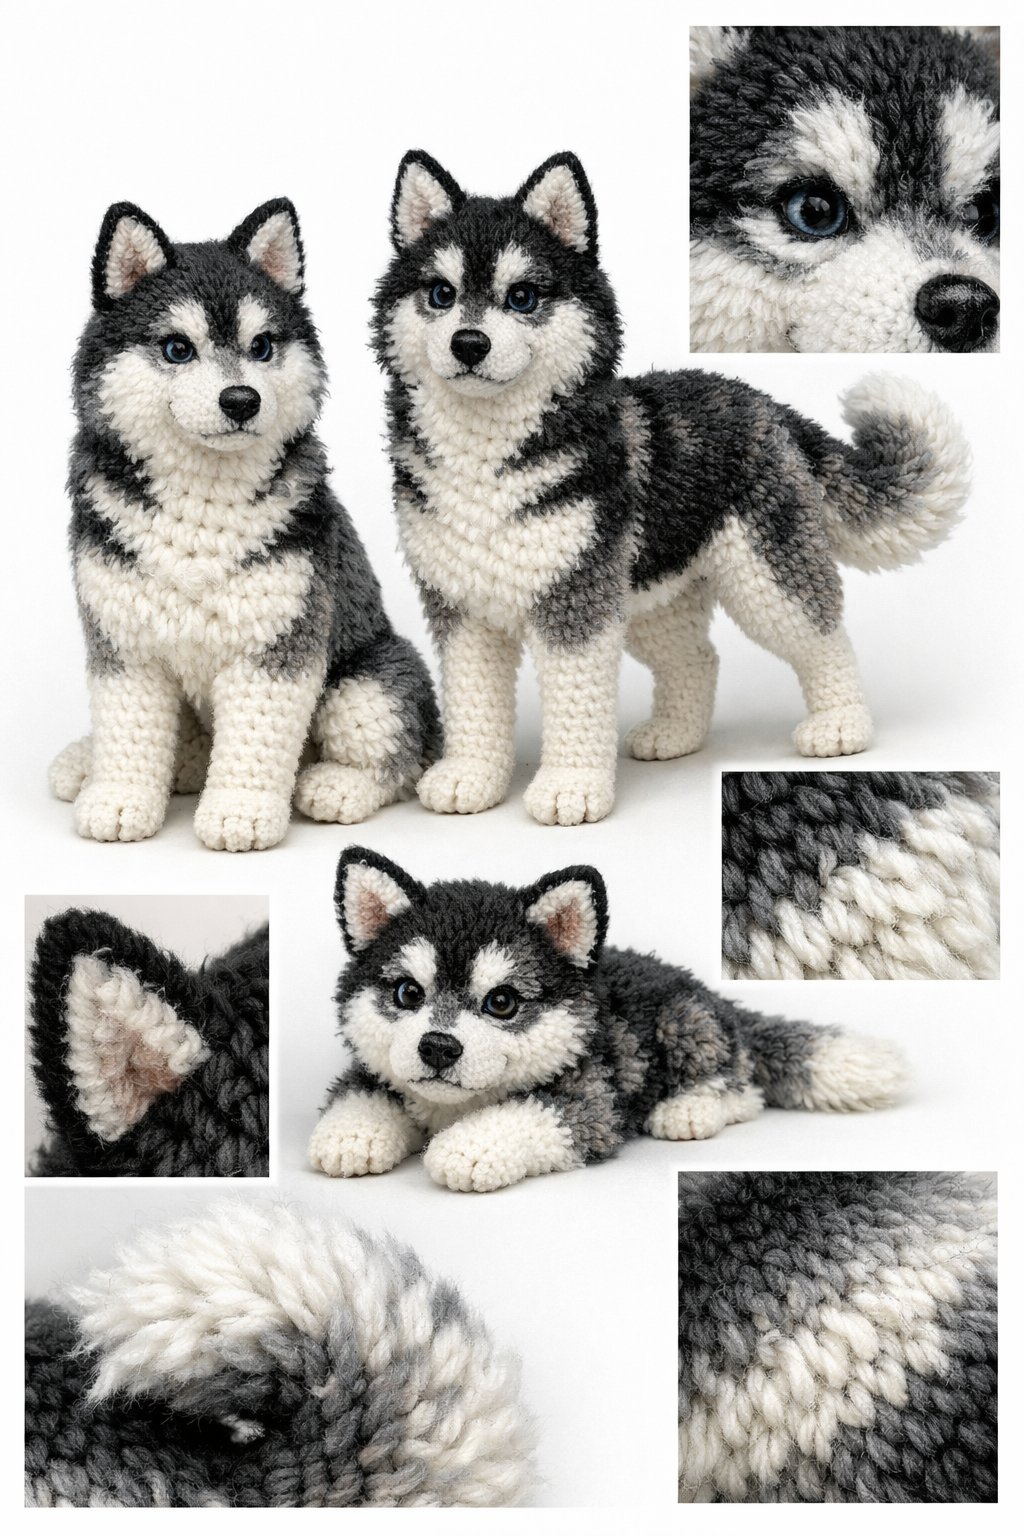
Realistic husky texture depends on careful color placement and firm shaping. Accurate stitch control and neat assembly help the finished piece look clean and true to the breed.
Color Changes for Husky Fur Detailing
A husky’s coat often includes white, gray, and black in clear sections. The crafter should plan these areas before starting the head and body. Mark rounds with stitch markers to track where each color begins and ends.
For clean lines, switch colors in the last yarn-over of the previous stitch. This method keeps the new color tight and avoids visible gaps. Carry unused yarn inside the work only for short distances. For larger sections, cut the yarn and rejoin it later to reduce bulk.
Key areas to define:
- Facial mask around the eyes
- White muzzle and chest
- Dark back and outer ears
- Light inner legs
Some patterns include photo guides or diagrams to show placement. Studying real husky photos also helps match markings. Small embroidery stitches can sharpen the eye outline or nose bridge without adding extra bulk.
Shaping and Assembly Tips
Firm shaping gives the husky a solid and balanced form. The maker should use tight, even stitches to prevent stuffing from showing through. A smaller hook than the yarn label suggests often works best for amigurumi.
Stuff the body and head in small amounts. Push filling into the neck and muzzle to avoid dents. Add more stuffing to the chest and haunches to create a natural dog shape.
For clear structure:
- Insert safety eyes before closing the head
- Pin ears and limbs in place before sewing
- Sew pieces with matching yarn and small whip stitches
Position the ears slightly angled and not straight up. Attach the tail so it curves gently over the back. Careful placement shapes the husky’s alert and active look.